Hello all, how are you doing? I am so excited to show you this journal and I think you might just have to have one as well. It is a new design by Debbie Anne Parent from
Ephemera's Vintage Garden , if you aren't familiar with her work, I encourage you to stop by for a visit and while there sign up for her weekly newsletter. She sends an update and her weekly freebie right to your inbox.
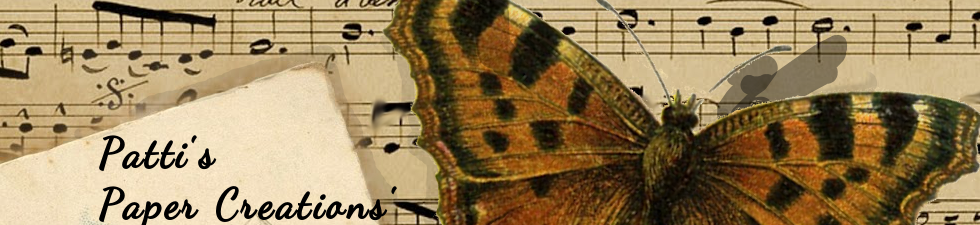
This is her new journal
My Crafty Life and it is the perfect answer for all of us crafters. It includes pages for journaling, doodling, addresses, special dates,supply lists and so very much more. Take a look at the listing by clicking my crafty life above, and here is a link to a
video . It organizes your home,self and crafting world. You will receive a link to a video from Debbie Anne after purchasing showing you how she put the book together. She encourages you to create it for your needs and that is just what I did, I love that it will always be available for me to print more pages and continue to add to as needed.
My front panel is one of her freebie images which I am so happy to finally be able to use. I love collages and this one is so very pretty.
I will tell you as much as I can as to what I have done to add my own touches but I am afraid that this will be a picture heavy post, so I hope you will stay with me.
I colored one of the tulips with baja breeze and blue bayou inks and a stardust pen, love the way it sparkles.
Want 2 Scrap gems, a Making Memories key and a panel which I punched using the Martha Stewart iron gate punch add the right touch. I have used various stamps from Stampin' Up throughout the journal (too many to list).
Inside of front cover: I used distress inks to color the lovely floral panel and used part of the same collage from the front to decorate my glassinine bag. I loved being able to use stickers, pins and scraps from my stash to add to the lovely pages included in this journal.
This shows the today cards which I have in the bag. I also punched holes in them and added a tab so that I could place them wherever needed in my book.
This begins the first section which I am using for my personal home items. It contains note pages, a special dates to remember, shopping lists and menu planners. She also includes a envelope which I hand cut, isn't that great? I used some K &Co. papers which blended beautifully with the design.
close up of the vellum layered over baja breeze.
Inside --- bookmark
Section two will have all of my blogging info. The tag is another of Debbie Anne's weekly freebie, I printed the sheet of six and will store the extras in one of the envelopes. I also snipped the hand and ink image from one of her printable sheets using it to add to my own title created in Silhouette and printed.
Love the stamped images from SU on the tag.
The next pages:
This section contains pages for my blog goals, team commitments, quotes and such.
Love this!!!
Now for my personal space. I again snipped the floral image from the page above and resized it to use for my section title and cut with oval dies. The edge is another Martha Stewart punch.
Love the inside of this one! There are bookmarks included in the journal as well, love the circles and the damask pattern on the other side.
The iron post was lounging in my stash of cut goodies and looks so good with the sticker.
Here I have journal pages for my thoughts, address pages and a login page which I will use for all of my crafty sites. The clips are some that I have have for a while and they looked great when I added a bit of distress ink.
Envelope with the damask tags.
Inside of the back cover.
Back cover.
If you are still with me, thanks a lot! I had so much fun putting this together and have started using it, There are some pages that I haven't talked about included , such as several different calendar set ups but since I use my tablet for my appointments, I didn't print these.
The pages print out so beautifully and there are so many options for decorating this with an unlimited range of colors. I hope you will check this out and if you do buy one , send me a link to your journal.
I am entering this at
613 Avenue Anything goes (Don't you love their name?)
Here is one last picture of my friends,
Linda and
Olga last weekend after a day of fun crafting, eating and sharing laughs. Love you guys and can't wait until our next time!
Happy Day.......